We will assume here that your Social Wall is already configured from a sources and moderation point of view. So let's focus on the configuration of an OBS scene including your video stream and a Ticker-style template at the bottom of the screen.
We will also assume that you are familiar with the basics of OBS (Open Broadcaster Software). This open source software available for Windows, MacOS and Linux allows you quite simply to make a video recording or a Live Stream (YouTube, Facebook, Twitch, Dailymotion, ...) using its virtual editing studio. More information on the OBS website.
Template configuration
First operation, choose a Ticker type template. To do this, go to the Design / Template section of your Wall using the left menu.
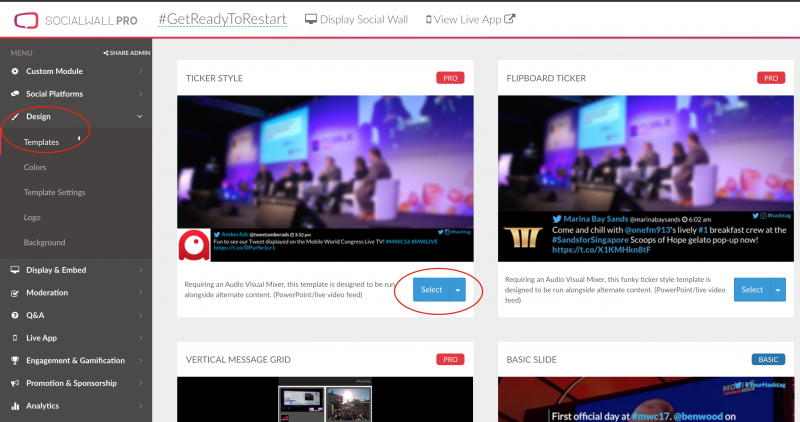
You have the choice between "Ticker Style" which takes 20% of the height of a standard 16/9 screen or "Flipboard Ticker" which takes 30%.
To select the Template of your choice, click on the blue "Select" button.
You will be able to see the Template display your messages in the "Preview" section. By default, these two Templates offer an unused green Chroma Key upper part.
Let's adjust to make this upper part transparent. To do this, click on Design / Template Settings. Then choose the value "Transparent" for the "Chroma Key" field. Remember to press "Apply" at the bottom of the screen.
![]()
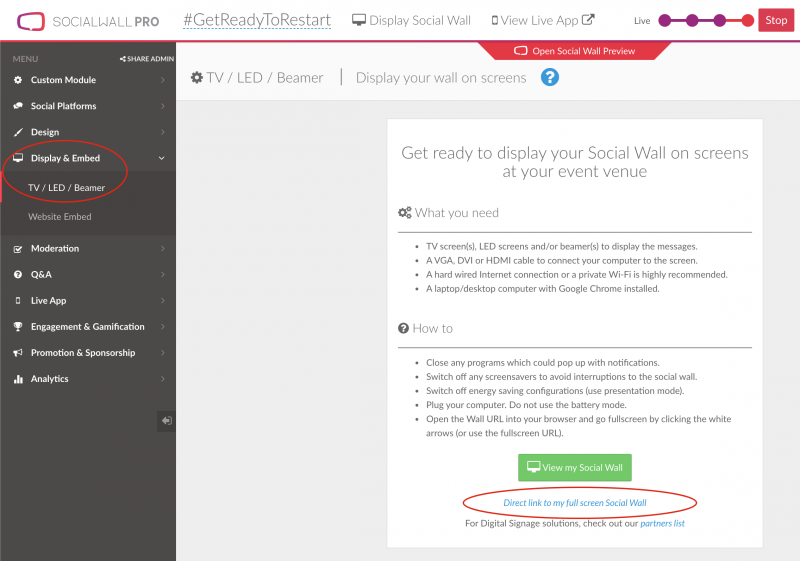
Then click on Display & Embed / TV/LED/Beamer and copy the link "Direct Link to my full screen Social Wall".
You are now ready to configure OBS.
OBS Stream configuration
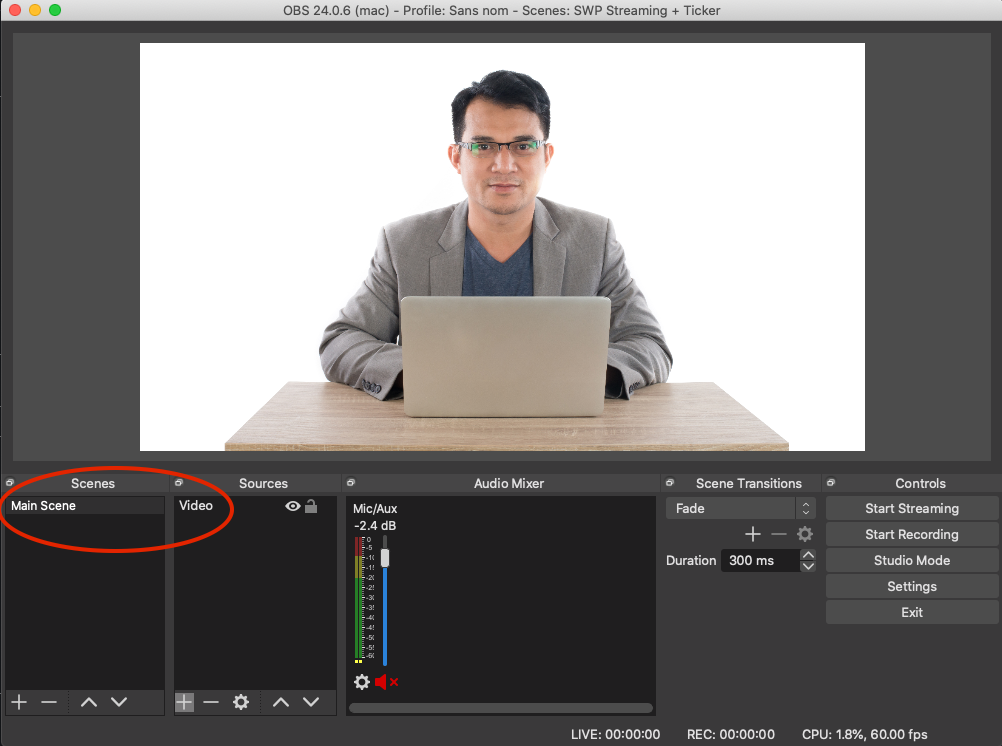
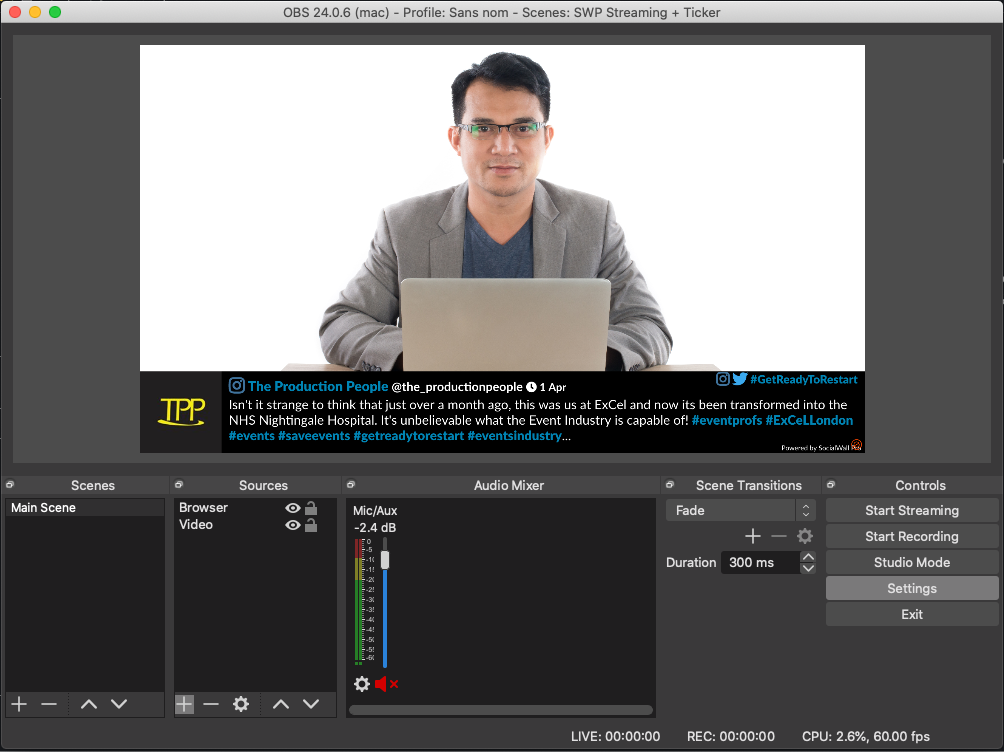
First of all, create a new scene which we will name "Main Scene".
On this scene, add your main video source (your camera, your web cam, ...). In this example, this source will take up the entire screen area. Let's name this source "Video".
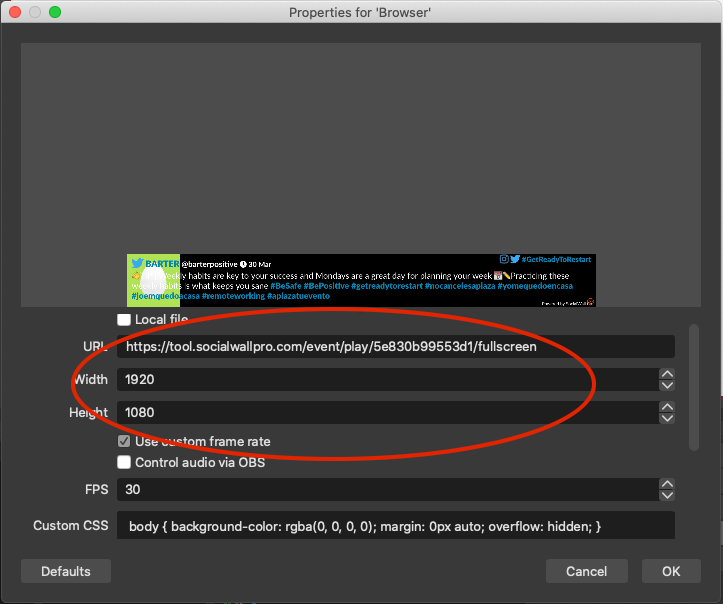
Then add a source of type "Browser".
Paste the URL of the Wall fullscreen previously copied.
Change the resolution to 1920 x 1080
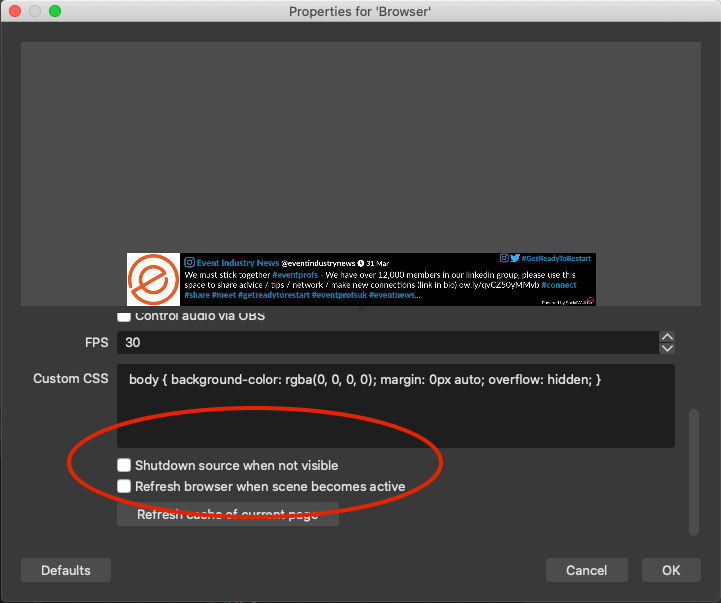
Leave the following two boxes unchecked:
* Shutdown source when not visible
* Refresh browser when scene becomes active
Make sure that the source "Browser" is above the source "Video"
That's it, you're ready to go Live!